 Whatcom County
 Why South Hill Homes Take a Different Kind of Beating
South Hill sits up on elevated, often tree-shaded ground above the rest of the area, and that position cuts both ways. Homes here get some protection from direct wind compared to open, low-lying lots, but they also catch long exposure to salt-laden air moving in off the water, sit under heavier tree canopy that keeps siding damp longer after a storm, and often face steeper lots and older construction details that were never built with today's moisture-management standards in mind. A lot of the housing stock on South Hill predates modern weather-resistive barrier codes, which means the siding is frequently the only thing standing between decades-old sheathing and a genuinely wet climate.
None of that is unique to any one street or block — it's the general pattern across older, elevated Whatcom County neighborhoods. What it means practically is that a siding job here has to do more than look good. It has to manage constant moisture cycling, resist salt-air corrosion at fasteners and trim, and hold up through months of low sun exposure where surfaces barely dry out between rains.
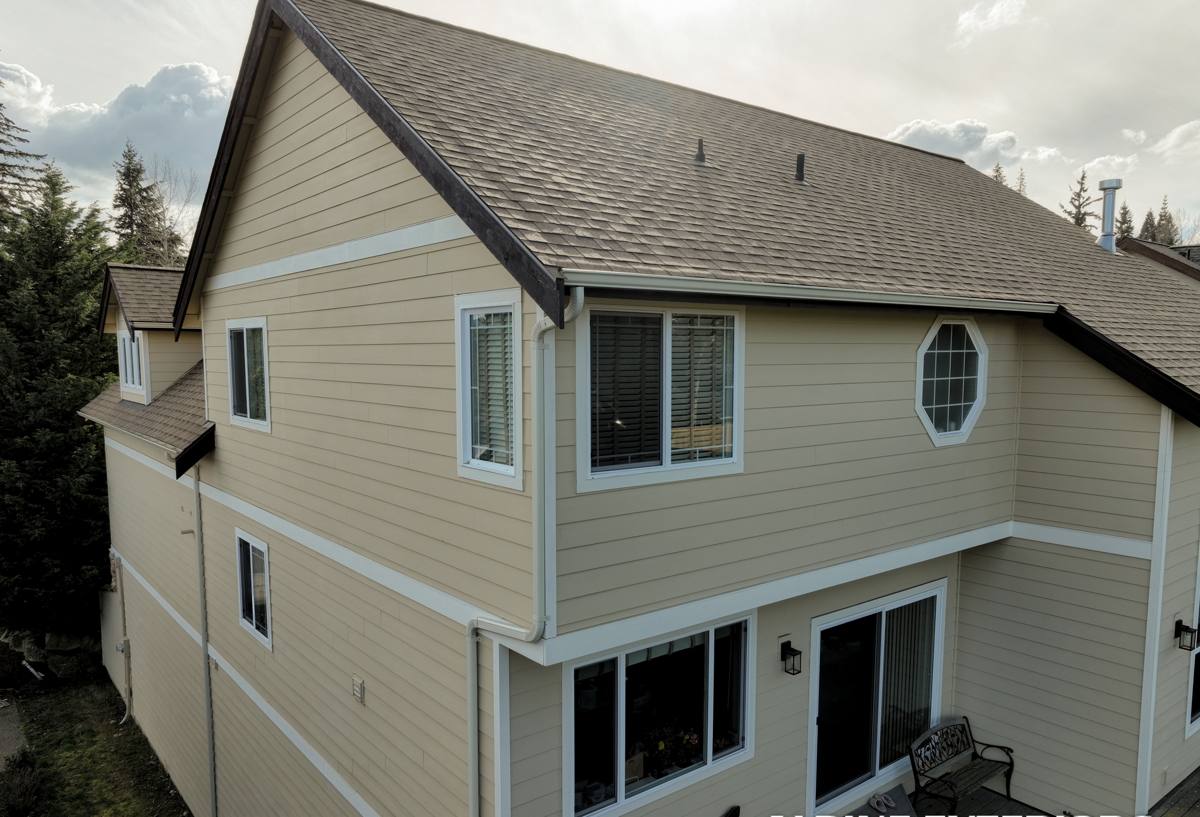
What Whatcom County's Climate Actually Does to Siding
Salt Air
Even a few miles inland, airborne salt accelerates corrosion on anything metal — nail heads, flashing, trim fasteners — and it slowly breaks down finishes that aren't formulated to resist it. Siding with a weak factory finish or exposed raw fastener heads will show chalking, staining, and rust bleed years before it should.
Driving Rain
This isn't gentle, straight-down rain. Wind-driven storms push water sideways into every lap, joint, and penetration. If the water-resistive barrier, flashing, and siding overlaps aren't detailed correctly, water gets behind the cladding — and once it's behind the siding, the sheathing and framing pay the price, not the siding itself.
Moss and Prolonged Dampness
Whatcom County's moss season runs long. On shaded, tree-covered lots like much of South Hill, siding can stay damp for days after a storm. Materials that absorb moisture swell, distort, and eventually rot. Materials that don't absorb moisture but trap it behind an unventilated assembly can still fail — which is why installation detail matters as much as the material itself.
What a Correct Installation Actually Involves
Good siding starts with what's underneath it, not the panel itself. A correct South Hill installation includes:
- A continuous, properly lapped weather-resistive barrier with no gaps at seams or penetrations
- Correctly integrated window and door flashing so water sheds outward at every opening, not into the wall cavity
- Rainscreen or drainage gap detailing where the wall assembly calls for it, so any incidental moisture can drain and dry
- Proper fastener type, spacing, and embedment depth — not just "enough nails"
- Correct clearance at grade, decks, patios, and roof lines so siding never sits in standing water or constant splash-back
- Sealed, backed joints at butt seams and trim intersections instead of caulk covering a gap that will reopen
Skip any one of these and the siding can look fine for a year or two while moisture quietly does damage behind it. This is where most siding failures actually start — not with the product, but with shortcuts in the parts nobody sees once the job is done.
Why We Install Only James Hardie Fiber Cement
We standardized on James Hardie fiber cement siding for every home we work on, including South Hill, because it's engineered for exactly the conditions described above. It's non-combustible, dimensionally stable in wet-dry cycling, and available in HZ5 formulations built for the Pacific Northwest's freeze-thaw and moisture exposure. The factory-applied ColorPlus finish is baked on under controlled conditions and backed by a real finish warranty — it isn't relying on a field-applied coat of paint to hold up against salt air and years of rain.
We don't install vinyl, LP SmartSide, primed wood, or other fiber cement alternatives, and we're upfront about why on our product pages. For a service page like this one, the short version is: we've chosen to put our labor and our warranty behind one system that we know performs when it's installed correctly, rather than juggling multiple products with different failure points and different long-term outcomes.
Our Installation Process
1. On-Site Assessment
We look at existing siding condition, sheathing access where relevant, drainage patterns around the foundation, tree cover and shading, and any trouble spots like window returns, deck ledgers, or roof-to-wall transitions — the details that matter more on an older, elevated lot than on flat new construction.
2. Tear-Off and Sheathing Inspection
Removing the old siding is also our chance to check the sheathing underneath. On older South Hill homes especially, this step sometimes reveals moisture damage that's been hidden for years. We flag it before covering it back up, not after.
3. Weather Barrier and Flashing
We install a continuous weather-resistive barrier and integrate flashing at every window, door, and penetration according to manufacturer specifications and James Hardie's published installation requirements — not shortcuts based on "how it's always been done."
4. Hardie Panel Installation
Panels, planks, or shingle siding go on with correct fastener schedules, proper clearances, and backed seams. We follow James Hardie's fastening and clearance specs exactly, because deviating from them is what voids warranties and causes premature failure.
5. Trim, Caulking, and Final Detail
Trim, corners, and joints are finished to shed water outward, with sealant used as a supplement to good flashing detail — never as a substitute for it.
6. Walkthrough
We walk the finished job with the homeowner, point out what was done and why, and answer questions before calling it complete.
Comparing Siding Options for a South Hill Home
| Material | Moisture Behavior | Finish Durability | Long-Term Fit for This Climate |
|---|---|---|---|
| James Hardie Fiber Cement | Won't rot or absorb water; dimensionally stable | Factory ColorPlus finish, engineered for UV and moisture | Built specifically for climates like this one |
| Vinyl | Doesn't absorb water but can warp, and seams can allow water intrusion behind it | Color fades over time; can't be repainted easily | Struggles with wide temperature swings and impact damage |
| Wood (Cedar/Primed Spruce) | Absorbs moisture; prone to rot without diligent upkeep | Requires repainting/staining on a recurring cycle | High maintenance burden in a long wet season |
| Other Fiber Cement Brands | Varies by product and finish system | Varies; not all use a factory-cured finish | We've standardized on Hardie for consistency and warranty strength |
Cost Factors on a South Hill Project
Every job is different, but the same factors drive cost on most South Hill homes:
- Access and lot slope — steep or hillside lots can require more setup time for scaffolding and material staging
- Existing siding removal — tear-off adds labor, especially with multiple layers or damaged sheathing underneath
- Sheathing repair — hidden moisture damage found during tear-off is priced once it's visible, not guessed at beforehand
- Home size and wall complexity — dormers, multiple gables, and cut-up wall planes take more time per square foot than simple rectangular walls
- Siding profile and trim detail — lap siding, shingle-style panels, and custom trim packages carry different labor and material costs
- Color and finish — factory ColorPlus finishes carry a different cost structure than field-painted options
We provide a detailed, itemized estimate after the on-site assessment rather than a ballpark figure over the phone — too much of the real cost depends on what's actually happening behind the existing siding.
Signs Your South Hill Home May Need New Siding
- Visible cracking, warping, or soft spots when pressed
- Persistent moss or algae growth that returns quickly after cleaning
- Peeling or bubbling paint, especially on north- and shade-facing walls
- Rising energy bills that suggest air and moisture are getting through the wall assembly
- Staining or streaking near seams, trim, or fastener heads
- Visible gaps, separated joints, or siding that's pulling away from the wall
- Interior signs like musty odors or discoloration on walls that back up to exterior siding
Any one of these on its own isn't necessarily an emergency, but a combination — especially moss plus staining plus soft spots — usually means moisture has been getting behind the siding for a while.
Why Local Experience on South Hill Matters
A crew that already works South Hill and similar Whatcom County neighborhoods knows what to expect before they pull the first piece of old siding off: the moisture patterns of shaded, tree-covered lots, the corrosion risk of ongoing salt air exposure, and the kind of sheathing damage that shows up on homes of a certain age. That familiarity shortens the assessment, sharpens the estimate, and reduces the odds of surprises mid-project. It also means the crew isn't learning the region's climate demands on your home for the first time — they've already seen what happens when installation details get skipped here, and they build accordingly.
Caring for Your Siding After Installation
James Hardie siding is low-maintenance, not no-maintenance. A simple annual routine keeps it performing as designed:
- Rinse siding gently once or twice a year to keep salt residue and organic growth from building up
- Keep gutters clear so water isn't overflowing directly onto wall surfaces
- Trim back tree limbs and shrubs that keep siding shaded and damp longer than necessary
- Re-caulk joints and trim intersections if you notice gaps opening up over time
- Address any impact damage promptly rather than letting it sit exposed
If you're weighing a siding replacement on a South Hill home, we're happy to take a look and walk you through what we see — no pressure, no obligation. A free on-site estimate is the easiest way to find out what your home actually needs.