 Whatcom County
 New-Construction Windows for Birchwood Homes
Birchwood sits close enough to Bellingham Bay and the Whatcom County coastline that homes here take a different kind of weather beating than houses twenty miles inland. Salt-laden air corrodes fasteners and hardware faster than manufacturers' warranties assume. Driving rain off the Strait pushes water sideways into wall assemblies, not just straight down. And the long, damp moss season keeps window sills, trim, and cladding wet for weeks at a stretch. New-construction windows — the kind installed with a nailing flange into a framed rough opening before siding goes on — are the best chance you get to build a wall assembly that actually holds up to that combination. Get the flashing and integration wrong at this stage, and you're patching leaks for the life of the house.
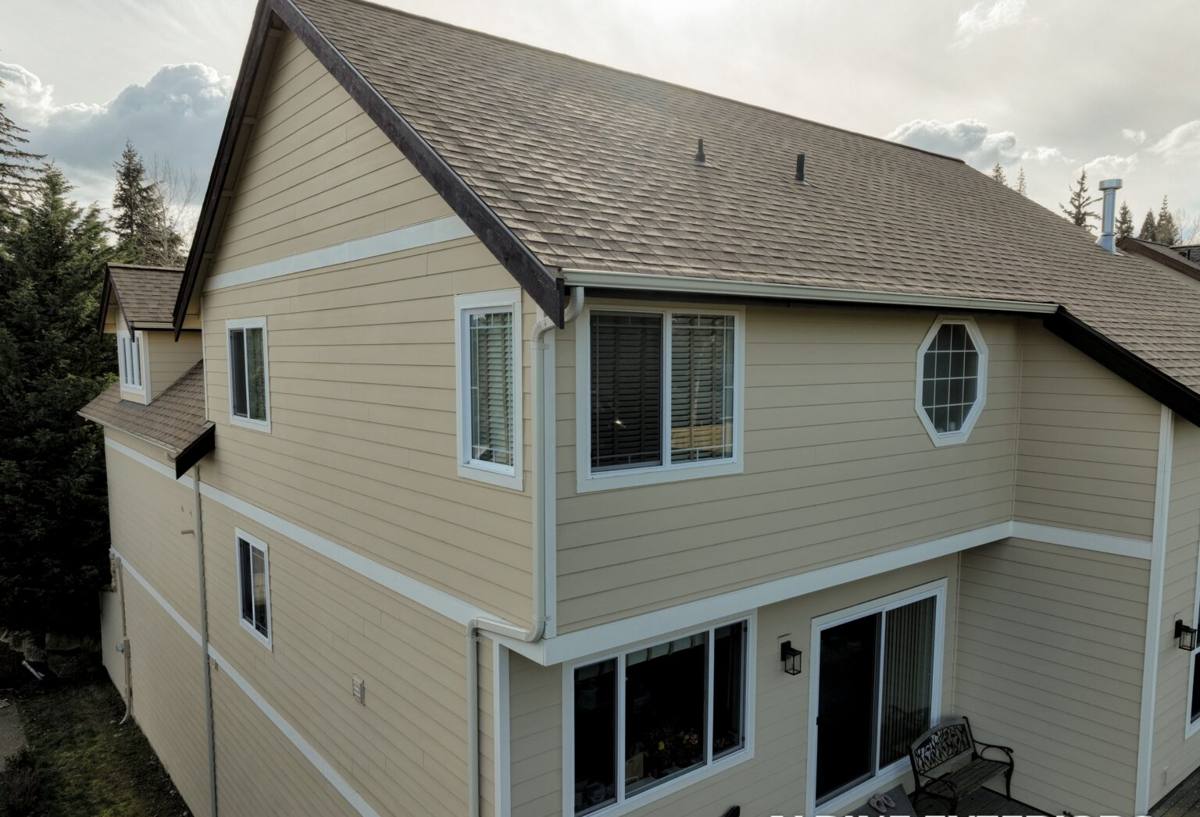
What "New-Construction" Actually Means
The term describes how the window attaches, not whether the house is brand new. A new-construction window has a nailing fin around the perimeter of the frame that gets fastened directly to the sheathing, then integrated into the weather-resistive barrier (WRB) and flashing system before siding or trim covers it. This is different from a replacement or "pocket" window, which is designed to fit inside an existing frame without disturbing the surrounding wall.
New-construction installs are the right call whenever:
- You're building a new home or an addition in Birchwood and framing the openings from scratch
- You're doing a full re-side and the sheathing and WRB will be exposed anyway
- An existing window's frame, sill, or flashing is already failing and a pocket install would just trap the problem behind a new window
- You want the option to change window size or add openings, not just swap glass in the same hole
Why Whatcom County's Climate Changes the Install
Salt Air and Corrosion
Homes within a few miles of the water deal with airborne salt that accelerates corrosion on fasteners, hinge hardware, and unprotected metal flashing. We spec corrosion-resistant fasteners and flashing components for Birchwood jobs as a matter of course, not as an upcharge — it costs little at install time and saves a lot of grief in ten years.
Driving Rain
Whatcom County's rain rarely falls straight down. Wind off the Strait and the Sound pushes it sideways into wall assemblies, which is exactly the scenario a proper sill pan and shingle-lapped flashing sequence is designed to defeat. A window that's watertight in a still, dry climate can still leak here if the flashing details aren't built for wind-driven water.
Moss Season and Sustained Moisture
From late fall through spring, north- and shade-facing walls in Birchwood stay damp for extended stretches, and moss and algae take hold on any surface that doesn't shed water and dry out between rains. Sills, head trim, and the transition between window and siding are where we see the most moisture-related wear over time. Building those transitions correctly the first time — with a back-slope on the sill and no ledges where water can sit — matters more here than it does in a drier climate.
What a Correct New-Construction Install Involves
The window itself is only part of the job. Most leaks and rot we get called to diagnose in older homes trace back to the flashing sequence, not the window unit. A correct install follows this order, every time:
- Rough opening prep — checking the opening is square, level, and sized correctly before the window ever shows up
- Sill pan flashing — a sloped, back-dammed pan under the window that directs any water that gets past the window back outside the wall, not into the framing
- WRB integration — the housewrap or building paper is cut, lapped, and taped so water always drains over the layer below it, never under it
- Window set and fasten — shimmed plumb and square, fastened per the manufacturer's schedule so the frame isn't racked or bowed
- Jamb and head flashing — flashing tape or flexible flashing at the sides and a head flashing or drip cap above, lapped over the jamb flashing
- Sealant at the right joints only — sealing the interior air seal and specific exterior joints, while leaving the sill weep path open so trapped water can escape
- Trim and siding tie-in — trim and cladding installed so the final surfaces shed water past the window, not toward it
Skipping or reordering any of these steps is how you get a window that looks fine for a few years and then starts showing water stains, soft trim, or interior sill damage — usually right around the time the original installer isn't answering the phone anymore.
Choosing Windows for a Birchwood Wall Assembly
Frame material and glass package both affect how a window holds up to this climate. None of these are "wrong" choices — they're trade-offs worth understanding before you commit.
| Frame Material | How It Handles This Climate | Maintenance |
|---|---|---|
| Vinyl | Won't rust or rot; handles moisture well; can expand/contract with temperature swings | Low — occasional cleaning |
| Fiberglass | Dimensionally stable, holds paint well, resists moisture and corrosion | Low, slightly higher upfront cost |
| Wood-clad | Warm interior look; cladding protects exterior face, but any breach in the cladding exposes wood to sustained moisture | Higher — watch cladding seams and interior finish |
| Aluminum | Strong and slim sightlines, but conducts cold and can corrode near salt air without proper coating | Moderate — coating matters more here |
For most Birchwood homes, we lean toward vinyl or fiberglass frames for their resistance to the moisture and salt exposure typical of this area, reserving wood-clad for interiors where the look is a priority and the exterior detailing can be built and maintained correctly. On glass, a dual-pane, low-E package with argon fill is standard here; the U-factor and solar heat gain coefficient matter less for extreme heat than they do for keeping interior surfaces warm enough, in our damp winters, to avoid condensation at the glass edge.
New-Construction vs. Retrofit: Which Fits Your Project
| Factor | New-Construction (Nail Fin) | Retrofit / Pocket |
|---|---|---|
| Best used when | Building new, adding on, or re-siding | Existing siding and trim stay in place |
| Flashing access | Full access to rebuild sill pan and WRB integration | Limited — relies on existing wall condition |
| Ability to resize opening | Yes | No — fits existing frame |
| Best for fixing an existing leak | Yes, if siding is coming off anyway | Not ideal if the problem is in the wall, not the window |
| Labor and disruption | Higher — involves siding/trim work | Lower — faster, less exterior disturbance |
Our Process
Every new-construction window job in Birchwood follows the same sequence, whether it's one window or a whole house:
- On-site assessment — we look at the wall assembly, exposure (which walls face prevailing wind and rain), and existing flashing condition if this is a re-side or repair
- Product selection — matched to the home's exposure, style, and budget, not a one-size-fits-all recommendation
- Written scope — what's included, the flashing details we'll use, and a realistic timeline
- Install — following the sill-pan-first, shingle-lap sequence described above, with photos of the flashing before it's covered
- Final check — operation, air seal, and exterior trim tie-in verified before we call it done
What Drives the Cost
| Factor | Why It Matters |
|---|---|
| Number and size of openings | More labor and material per window, but efficiencies on multi-window jobs |
| Frame material and glass package | Vinyl runs less than fiberglass or wood-clad; upgraded glass packages add cost |
| Wall exposure | Walls facing prevailing wind and rain warrant more careful (and slightly more time-intensive) flashing detail |
| Condition of the rough opening | Framing repairs or resizing add time beyond a straightforward window swap |
| Trim and siding tie-in | Matching existing trim profiles or siding takes more care than an all-new wall |
We give a firm, written number after seeing the site — broad ranges without seeing the openings and wall condition aren't useful to you, so we won't guess over the phone.
Questions Worth Asking Before You Hire
- Will you install a sill pan flashing under every window, not just seal around the edges?
- How do you integrate the flashing with the existing or new WRB?
- Do you leave the sill weep path open, or seal the window in on all four sides?
- What fasteners and flashing materials do you use given the salt air near the water?
- Can I see photos of the flashing before siding or trim covers it?
- Is the manufacturer's installation instruction followed for fastener spacing and shimming?
Why Local Experience in Birchwood Matters
A crew that has actually worked on Birchwood homes knows which walls take the worst of the wind-driven rain, how long moss season really runs here, and what the salt exposure does to hardware over time — because they've seen it firsthand, not read about it in a manufacturer's install guide written for a national market. That experience shows up in small decisions during the install: where to add an extra course of flashing tape, which fastener to use, how to detail a sill so it actually sheds water instead of holding it. Those details are invisible once the trim goes back on, and they're exactly what separates a window that's still watertight in fifteen years from one that isn't.
If you're planning new construction, an addition, or a re-side in Birchwood and want windows installed the right way the first time, we're happy to take a look and give you a straightforward, no-pressure estimate using the form below.