 Whatcom County
 Building New in Sehome? The Windows Are Where the Project Succeeds or Fails
If you're framing a new home or a major addition in the Sehome neighborhood of Bellingham, the windows are one of the few components that get exactly one chance to be installed right. Once siding, trim, and interior finishes go on around them, fixing a bad flashing job means tearing back out work that's already done. New-construction windows are installed into a raw, unsheathed or partially sheathed wall opening — which gives us full access to build a proper water-management system around the window before anything covers it up. That's the advantage of new construction over a retrofit, and it's also the reason a rushed or careless install on a new build causes problems that don't show up for a year or two, by which point they're expensive to trace and fix.
We install new-construction windows across Whatcom County, and Sehome jobs come with a specific set of demands: a marine climate, long wet winters, and building lots that range from open hillside exposure to tree-shaded, damp yards where moss and mildew take hold fast. None of that is exotic — it's just what building in this part of Washington requires you to plan for.
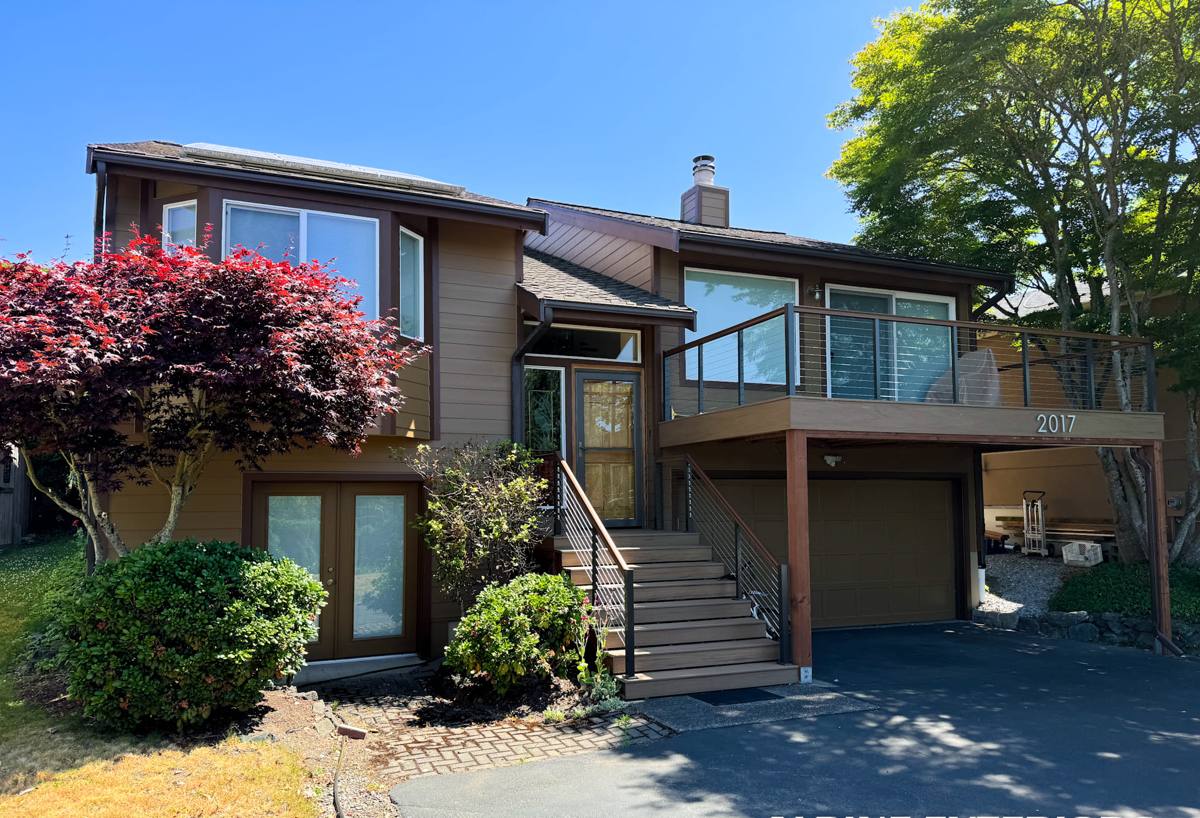
What Whatcom County's Climate Asks of a New-Construction Window
Salt Air and Coastal Corrosion
Bellingham sits close enough to salt water that airborne salt is a real factor in material selection, especially on homes with west or southwest exposure. Salt-laden moisture accelerates corrosion on unprotected fasteners, low-grade hardware, and some metal flashing products. It's not usually dramatic — it's a slow degradation that shows up as streaking, pitting, or hardware that stiffens and fails years before it should. We choose fasteners, flashing tape, and window hardware rated for coastal exposure rather than the cheapest compatible option, because the cost difference is small and the failure mode (a window that won't latch right, or a rusted nailing fin) isn't something you want to discover after the siding is on.
Driving Rain and Wind-Driven Water
Whatcom County doesn't get the heaviest rainfall totals in the state, but it gets a lot of wind-driven rain — storms that push water sideways into a wall assembly rather than letting it run straight down. A window opening is the single most common place wind-driven water finds its way behind siding, because it's a hole in the weather-resistive barrier with corners, fasteners, and material transitions. Correct new-construction flashing is built specifically to shed water that's moving sideways and downward at the same time, not just water falling straight down.
A Long, Damp Moss Season
From fall through spring, shaded and north-facing walls in this area stay damp for extended stretches, and that's exactly the condition moss, algae, and mildew need to establish. On new construction, this matters at two points: the window sill and drainage plane need to shed water fast enough that it doesn't sit and feed growth, and any exposed wood trim needs to be detailed so it isn't holding moisture against the window frame. A window that traps water at the sill will grow moss and soft trim years before the glass or hardware fails.
New-Construction Windows vs. Retrofit/Pocket Windows: Why the Method Matters
People sometimes ask why we install differently depending on whether it's a new build or a remodel. The short answer is that the wall is open, so we should use it.
| Factor | New-Construction (Nail-Fin) Install | Retrofit/Pocket Install |
|---|---|---|
| Wall condition | Open studs, WRB and sheathing accessible | Existing siding and trim stay in place |
| Flashing access | Full sill pan, jamb, and head flashing built in sequence | Limited to what's exposed at the opening |
| Best used for | New homes, additions, full wall-reframe projects | Window replacement without disturbing siding |
| Long-term water control | Highest — flashing integrates directly with the WRB | Good, but relies on the existing wall's condition |
| Where we use it in Sehome | New builds, additions, homes getting full siding replacement | Homes keeping existing siding in good condition |
On a new build, there's no excuse for a shortcut version of this process — the wall is already open, and doing it right adds very little time compared to doing it wrong.
What a Correct New-Construction Window Install Actually Involves
Flashing and Water-Management Layers, in the Right Order
Water management around a window opening is a sequence, and sequence matters more than any single product used. Done correctly, it looks like this:
- Sill pan flashing installed first, sloped slightly to drain outward, so any water that gets past the window has somewhere to go besides the framing.
- Weather-resistive barrier (house wrap) integrated so it laps over the sill pan, not under it.
- Window set into the opening, checked for level, plumb, and square before a single fastener goes in.
- Jamb flashing applied to the sides, lapping over the sill pan.
- Head flashing installed last, lapping over the jamb flashing and integrated with the WRB above the window — this is the layer that protects against wind-driven rain running down the wall face.
- Sealant used only where it belongs — at the interior air seal and select exterior joints, never as a substitute for correct flashing laps. Sealant fails eventually; shingle-lapped flashing doesn't rely on adhesion to keep water out.
Skip or reverse any of these steps and the window may look fine and pass a casual inspection, but it's set up to leak into the wall cavity the first time it takes wind-driven rain from the wrong angle.
Product Selection: Frame Material and Glass Package
For new construction in this climate, we lean toward vinyl or fiberglass frames with welded (not mechanically fastened) corners, and double- or triple-pane glass with a low-E coating and argon fill. Wood-frame windows can look great and perform well, but they demand a maintenance commitment — regular repainting or refinishing — that not every homeowner wants to take on given how much moisture this climate produces. That's a maintenance trade-off we're upfront about, not a knock on wood as a product.
Choosing Window Specs for a Sehome Build: What Actually Drives Cost
| Cost Factor | What It Affects | Typical Range of Impact |
|---|---|---|
| Frame material (vinyl vs. fiberglass vs. wood) | Upfront price, maintenance, lifespan | Fiberglass typically runs highest, vinyl lowest |
| Glass package (double vs. triple pane, low-E coatings) | Energy performance, condensation resistance, noise reduction | Moderate increase per window for triple pane |
| Window size and operable type (fixed, casement, slider, awning) | Ventilation, ease of operation, weatherability | Casement and awning styles seal tightest against wind-driven rain |
| Number and complexity of openings | Labor time, flashing detail work | Corner windows and large openings add labor |
| Exterior trim and cladding integration | Final appearance, additional flashing detail | Varies by siding type being installed around the window |
We walk through these trade-offs with every homeowner rather than defaulting to one spec for every job — a shaded, damp lot on the north or west side of a Sehome property often calls for different priorities than an open, sun-exposed lot.
Our Process on a New-Construction Window Job
- Plan review: we confirm window schedule, rough opening sizes, and manufacturer specs against the actual framing before ordering anything.
- Pre-install walk-through: we check that rough openings are square, sheathed, and ready — catching framing issues before the window shows up is far cheaper than catching them after.
- Sill pan and flashing sequence: installed in the correct shingle-lap order described above, on every opening, every time.
- Window setting: leveled, plumbed, squared, and fastened per manufacturer specification — not "close enough."
- Head flashing and WRB integration: tied into the broader house wrap system so the whole wall drains as one assembly.
- Interior air sealing: insulated and sealed at the jambs to control drafts and condensation without blocking drainage paths.
- Final inspection: operation check on every window — smooth operation, tight seal, correct lock engagement — before we call the job done.
Mistakes We See on New Builds Around Whatcom County
Most window problems we get called to diagnose on newer homes trace back to one of a short list of avoidable errors:
- Head flashing installed under the house wrap instead of over it, letting water run behind the barrier instead of over it
- No sill pan, or a flat sill pan with no slope to drain water outward
- Sealant used to "fix" a flashing gap instead of correcting the flashing itself
- Windows fastened before checking for square, leaving operable sashes that bind or won't seal tight
- Mismatched flashing tape and window/WRB materials that don't bond properly over time
- Trim and cladding installed tight against the window frame with no room for the assembly to shed water
Every one of these is easy to avoid with a careful, correctly sequenced install — which is exactly why sequence and inspection matter more than which brand of window ends up in the opening.
Why a Crew That Already Works in Sehome and Whatcom County Matters
New-construction window work isn't complicated in theory, but it's unforgiving of shortcuts, and the right approach shifts depending on a lot's exposure, shade, and drainage. A crew that's worked lots across Bellingham and greater Whatcom County has already seen how a north-facing wall on a shaded Sehome lot behaves differently than an open, wind-exposed site closer to the water — and adjusts flashing detail, product choice, and sequencing accordingly instead of installing the same way on every job regardless of conditions. That local pattern recognition is worth more than any single product spec sheet.
If you're planning new-construction windows for a build or addition in Sehome, we're happy to walk the plans, talk through frame and glass options for your specific lot, and give you a straightforward, no-pressure estimate. There's a form below — reach out and we'll set up a time to talk.