 Whatcom County
 Edgemoor sits close enough to Bellingham Bay that salt-laden air, wind-driven rain, and long stretches of damp, shaded weather are simply part of owning a home here. When you're building new or adding a significant window package to a new structure, the windows you choose and how they're installed will decide whether that home stays tight and dry for the next 20-30 years or starts showing rot, fogged glass, and stained trim within the first decade. New-construction windows are not the same job as a retrofit or replacement — they go in before the siding, before the final weather-resistive barrier laps are set, and before the trim is finished. Getting that sequence right the first time matters more here than in drier parts of the state.
Why Edgemoor's Climate Changes the Window Install
Edgemoor's location near the water means homes take on a specific combination of stresses that inland Whatcom County properties don't deal with as heavily. Salt air accelerates corrosion on unprotected fasteners and lower-grade hardware. Driving rain off the bay pushes water sideways into wall assemblies, not just straight down, which means flashing details that would be adequate in a calmer climate can fail here. And the long moss season — the extended stretch of cool, wet, low-sun months typical of this part of Washington — keeps window sills, sashes, and trim damp for weeks at a time, which is exactly the environment that lets moss, algae, and wood rot take hold.
None of this means new-construction windows in Edgemoor need to be exotic or overbuilt. It means the flashing, sealants, and drainage details around each window opening need to be done correctly and in the right order — every time, on every window, not just the ones that are hardest to reach.
What This Looks Like in Practice
- Corrosion-resistant fasteners and hardware rated for coastal exposure, not standard-grade screws
- Sill pans under every rough opening to catch and redirect any water that gets past the primary seal
- Flashing tape and housewrap integration sequenced so water always drains outward and downward, never behind the barrier
- Sealant systems chosen for long-term flexibility in a climate that cycles between damp and dry rather than hot and cold
- Sill and trim details that shed water and resist standing moisture during the wettest months
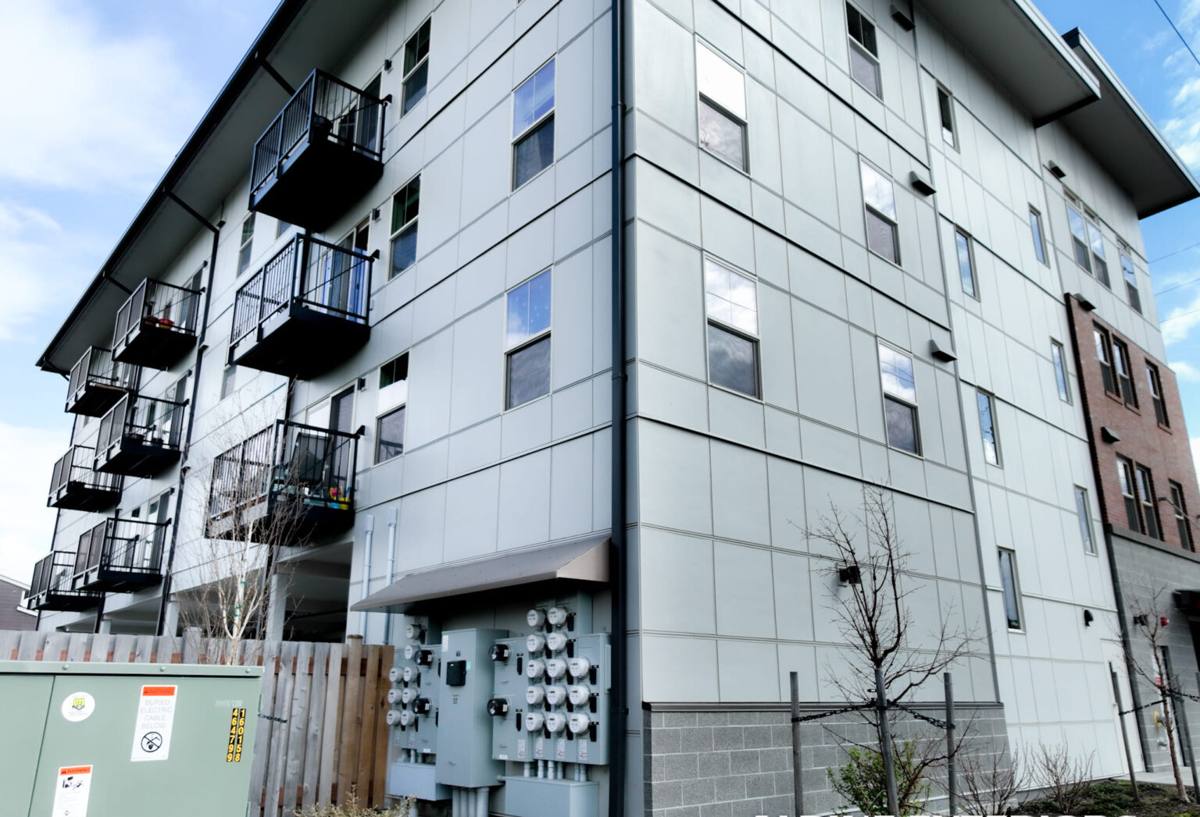
New Construction vs. Replacement: Why the Job Is Different
A lot of homeowners assume window installation is window installation. New construction is a different process from a retrofit, and doing it right at this stage is what protects the home for its entire life.
In new construction, the window goes into a bare rough opening before siding is applied. That gives us full access to the wall assembly — house wrap, sheathing, framing — and the chance to build a proper drainage plane around the window from scratch. In a replacement, we're working around existing siding and trim, often with limited access to the framing behind it. New construction is actually the easier job to get right, but only if the flashing and sequencing steps aren't skipped or rushed to keep pace with the rest of the build schedule. That's the most common source of long-term problems: a crew under pressure to keep up with framers and siding installers who cuts a corner on flashing lap order or skips a sill pan because "the window has a nailing fin, that's enough."
A nailing fin and a bead of caulk is not a complete water-management system. It's one layer. Coastal Whatcom County homes need the full system — sill pan, flashing tape integrated with the WRB, and a drainage path — because the fin and caulk are the layer that eventually ages and needs backup.
What a Correct New-Construction Window Job Involves
1. Rough Opening Prep
Before a window ever goes in, the rough opening needs to be checked for square, level, and proper dimensions. Any gaps or irregularities get addressed here — not patched around later.
2. Sill Pan Installation
A sloped or flashed sill pan sits under the window and directs any water that reaches the sill back outside the wall assembly, rather than letting it pool against the framing.
3. Window Setting and Shimming
The window is set plumb, level, and square, then shimmed at the manufacturer's specified points so the frame doesn't rack or bind — a racked frame is a common cause of premature seal failure and hardware that won't operate smoothly.
4. Flashing Integration
Flashing tape is applied in the correct shingle-lap order — sill first, then jambs, then head — so every layer overlaps the one below it and water is always directed outward, never trapped behind the barrier.
5. Air Sealing and Insulation
The gap between the window frame and rough opening gets sealed with an appropriate low-expansion foam or sealant, not packed tight enough to bow the frame.
6. Exterior Trim and Final Sealant
Trim is set to shed water away from the window unit, and sealant joints are placed only where they belong in the system — sealant is a backup layer, not the primary defense.
Choosing the Right Window for This Location
Whatcom County's marine climate is moderate compared to extreme heat or cold zones, but its consistent moisture load and salt exposure narrow the field of what performs well long-term near the bay.
| Factor | What to Look For in Edgemoor | Why It Matters Here |
|---|---|---|
| Frame Material | Vinyl or fiberglass with corrosion-resistant hardware | Resists salt-air corrosion better than untreated or lower-grade metal components |
| Glazing | Dual-pane with low-E coating; argon fill where budget allows | Manages heat loss during long damp, overcast stretches without overspending on cooling performance we don't need |
| Weatherstripping | Quality compression seals rated for wind-driven rain | Bay-adjacent wind pushes rain sideways; a weak seal lets it in around the sash, not just at the glass |
| Finish/Color | UV- and moisture-stable exterior finish | Constant damp exposure and moss growth are harder on cheap finishes than sun alone would be |
| Warranty Structure | Manufacturer warranty that explicitly covers seal failure and glass fogging | Seal failure from moisture cycling is the most common coastal window issue — make sure it's actually covered |
We don't push a single brand as the "only" option. We do steer clients away from window lines with a track record of seal or finish issues in wet coastal climates, and we're upfront about why — maintenance burden and how the product handles moisture over time, not marketing claims.
Moss, Algae, and Long-Term Maintenance
Edgemoor's tree cover and proximity to the water mean shaded, damp surfaces stay wet longer than they would further inland. Window sills, trim, and the top of window headers are common spots for moss and algae to take hold if the drainage and drying details weren't built in correctly. A properly flashed and trimmed window sheds water fast enough that these surfaces get a chance to dry between rain events, which is the single biggest factor in whether moss becomes a problem. Homeowners can help by keeping nearby vegetation trimmed back from window openings and rinsing sills during the drier summer months, but the underlying installation quality is what does most of the work.
Our Process for New-Construction Window Installs in Edgemoor
- Plan review and coordination — we work with your builder or general contractor's timeline so window installation happens at the right point in the framing and WRB sequence.
- Site walk and rough opening check — every opening is verified before windows are set, not assumed correct from the plans.
- Sill pan and flashing installation — done in the correct lap order on every window, documented as we go.
- Window setting — plumb, level, square, and properly shimmed.
- Final trim and sealant — exterior details finished to shed water, not just look clean.
- Walkthrough — we go over what was installed and answer questions before we consider the job done.
Why a Crew That Already Works Edgemoor Matters
Flashing details that work fine in a dry inland climate can fail within a few seasons on a bay-adjacent lot like the ones around Edgemoor. A crew that installs windows across Whatcom County regularly — not just occasionally — has already seen which details hold up against driving rain and salt air and which ones don't. That experience shows up in small decisions: how flashing tape is lapped at a sill corner, which sealants stay flexible through a wet Whatcom County winter, and where extra attention is worth the time even when it's not strictly required by code. Those are the details that separate a window installation that lasts a couple of decades from one that starts leaking in five years.
What to Ask Before Hiring for a New-Construction Window Package
- Do you install sill pans on every window opening, or only where you think it's needed?
- What's your flashing lap order, and how does it tie into the house wrap or WRB?
- Can you walk me through how you'd handle a window on the windward, water-facing side of the house differently, if at all?
- What warranty coverage applies to seal failure and glass fogging, and who backs it — you or the manufacturer?
- Do you coordinate directly with the framing and siding crews, or does window installation happen in isolation?
If you're building new in Edgemoor or planning a window package for an addition, we're happy to walk the site, review your plans, and give you a straightforward, no-pressure estimate. Fill out the form below and we'll get in touch.