 Whatcom County
 Siding Installation in Ferndale: Why the Install Matters as Much as the Material
Ferndale homeowners often research siding by comparing materials, and that's a reasonable place to start. But the material is only half the equation. Two homes can have the identical James Hardie siding on them, and one will still be performing well in fifteen years while the other is showing rot at the corners and staining along the seams in five. The difference almost always comes down to how the installation was done, not what was installed. In a climate that sends salt-tinged air off the water, drives rain sideways into wall assemblies, and keeps shaded walls damp for a long moss season most of the year, installation quality is not a minor detail. It's the difference between siding that does its job and siding that quietly fails behind a good-looking surface.
This page focuses specifically on what a correct James Hardie installation looks like on a Ferndale home, and how our process is built around this area's particular climate demands rather than a generic national install checklist.
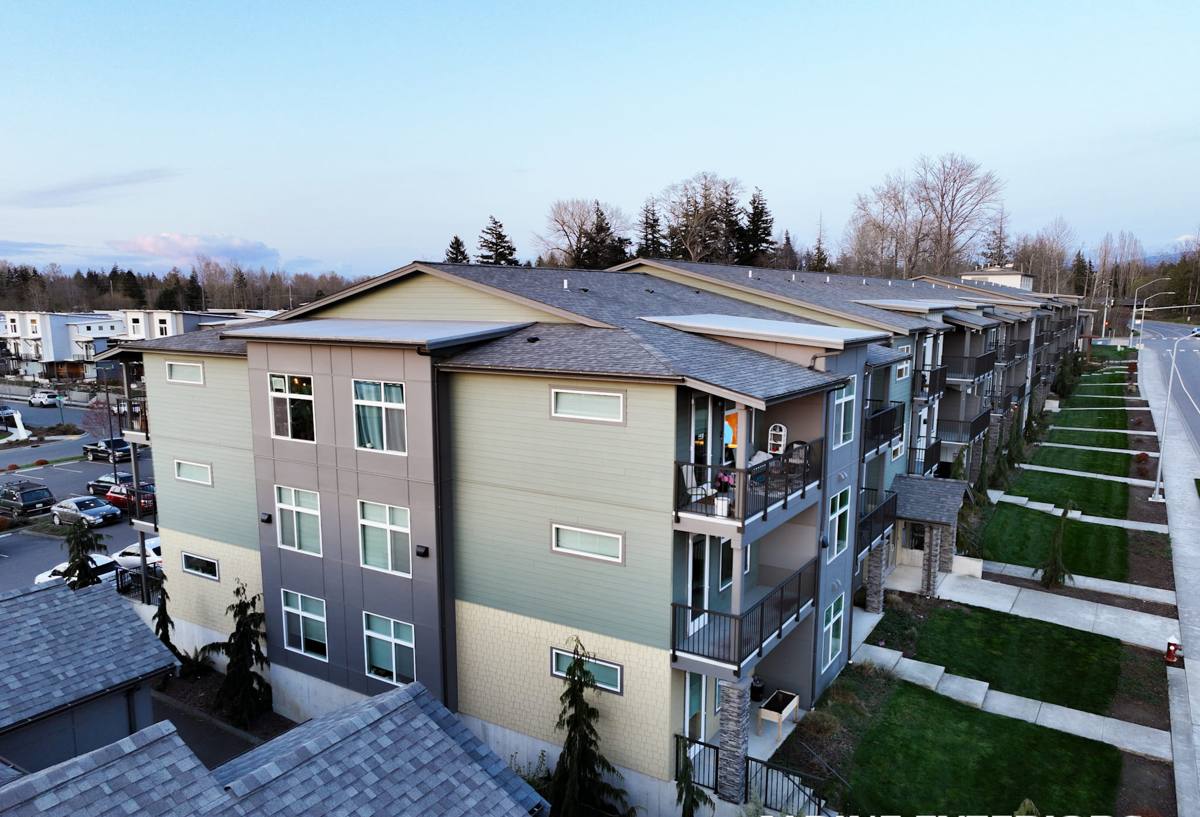
What Ferndale's Climate Demands From an Installation
Salt Air and Fastener Corrosion
Ferndale's proximity to the water means homes here take on a steady dose of salt-laden air, even at a distance from the immediate shoreline. Salt accelerates corrosion in fasteners, flashing, and trim hardware. An installation that uses the wrong fastener material or spacing can look fine for a year or two before corrosion starts loosening boards or staining the face of the siding from behind. Correct fastener selection and placement is a detail that matters more here than it would in a drier, inland climate.
Wind-Driven Rain and Water Management
Rain in this part of Whatcom County rarely falls straight down. Wind pushes it sideways into lap joints, trim edges, and penetrations around windows and doors. That means an installation has to manage water that's actively being driven into the wall, not just water running off a roof edge. Weather-resistive barrier overlaps, flashing sequencing, and how each course of siding sheds water onto the course below all become more important under sideways rain than they would in a calmer climate.
A Long Moss Season and Airflow
Mild temperatures and consistent moisture give Ferndale a moss and mildew season that can run most of the year on shaded or north-facing walls. Correct installation includes leaving the clearances and airflow paths the siding system was designed around, so moisture has a way to dry out instead of staying trapped against the wall. Skipping those clearances to save time on install day is one of the more common ways a good product ends up growing moss and holding moisture years ahead of schedule.
What a Correct James Hardie Installation Involves
Weather-Resistive Barrier and Flashing
Before the first board goes up, the wall needs a continuous weather-resistive barrier with properly lapped seams, and flashing integrated at every window, door, and penetration so water is directed out and down rather than into the wall cavity. This layer does most of the real waterproofing work; the siding itself sheds the bulk of the water, but the barrier behind it is what protects the structure when wind-driven rain gets past the surface.
Fastening Pattern and Clearances
James Hardie specifies exact fastener types, spacing, and penetration depth for its products, along with minimum clearances from grade, roof lines, decks, and other trim. Those numbers aren't arbitrary. Fasteners that are overdriven or underdriven can crack the board or let it work loose over time, and siding installed too close to grade or a roof line will wick moisture it was never designed to sit in.
Joint Treatment and Caulking
Every lap joint, corner, and trim intersection is a place water can find its way in if it isn't detailed correctly. Correct installation means joints are either properly lapped and shielded from direct water contact or sealed with a caulk rated for the exposure, and it means those details are consistent across the entire house rather than done carefully in visible areas and rushed elsewhere.
Cutting, Handling, and Finish Integrity
Fiber cement needs to be cut with the right tools and dust control, and factory-cut or field-cut edges on ColorPlus products should be treated with the appropriate edge sealer so the factory finish isn't compromised at the cut line. Skipping this step is invisible on install day and shows up later as premature fading or moisture intrusion right at the cut edges.
Our Installation Process, Step by Step
- On-site assessment: We walk the property, check the existing siding and substrate condition, and identify problem areas like shaded walls, low-clearance zones, and window and door details that need extra attention.
- Removal or prep: On a re-side, we remove the old siding down to the sheathing so we can see the substrate directly, rather than installing over unknown conditions.
- Substrate repair: Any rot, soft sheathing, or framing damage found during tear-off gets repaired before anything new goes on. Installing new siding over a compromised substrate just delays the same problem.
- Weather-resistive barrier and flashing: A continuous barrier goes on with correctly lapped seams, and flashing is integrated at every window, door, and penetration point.
- Siding installation: Hardie boards or panels go up to spec, with correct fastener type, spacing, and clearances maintained throughout, not just in the areas that will be most visible.
- Trim and joint detailing: Corners, trim boards, and joints are finished and sealed according to the product's requirements for this climate's exposure.
- Final walkthrough: We review the completed work with the homeowner before considering the job done, so any questions or concerns get addressed on site.
Installation Problems We Find on Ferndale Tear-Offs
When we remove old siding on a Ferndale home, certain installation shortcuts show up often enough that they're worth mentioning. We're not naming any particular product or crew here, just describing what we find and why it matters for anyone hiring for a new install:
- Missing or poorly lapped weather-resistive barrier that let water track behind the wall for years before it was visible from outside
- Fasteners driven at the wrong depth, cracking boards or leaving them loose enough to move in wind
- Siding installed with insufficient clearance from grade, decks, or roof lines, drawing moisture up into the bottom courses
- Cut edges left unsealed, leading to localized swelling or finish failure right at the cut line
- Caulking used as the only defense at a joint that should have been flashed or lapped instead
None of these are dramatic failures on install day. They're the kind of shortcuts that look identical to correct work for the first year or two, then quietly cost a homeowner a repair or an early re-side.
New Construction vs. Re-Siding: Different Installation Considerations
Installing James Hardie on new construction and installing it as a re-side on an existing Ferndale home involve some of the same principles but different starting conditions. New construction gives us a clean substrate and the chance to build the weather-resistive barrier and flashing system exactly to spec from the start. A re-side means working with whatever condition the existing wall is in, which is why tear-off and substrate inspection matter so much on older homes. We treat these as distinct jobs with distinct prep work, not the same installation checklist applied to two different starting points.
What Affects an Installation Timeline and Cost in Ferndale
| Factor | What It Affects | Why It Matters Here |
|---|---|---|
| Tear-off vs. new construction | Prep time and substrate access | Tear-offs often reveal hidden moisture damage common in this climate that needs repair before new siding goes on |
| Home size and wall complexity | Total labor and material | More corners, dormers, and trim mean more joints where wind-driven rain can intrude if not detailed correctly |
| Trim and flashing scope | Labor time around openings | Every window and door detail is a place water can enter under sideways rain if flashing isn't sequenced correctly |
| Site access and staging | Crew efficiency | Larger lots or tree-shaded properties common around Ferndale can add setup and material staging time |
| Weather scheduling | Install pace and sequencing | A long wet season in Whatcom County means work is planned around dry windows to keep the substrate protected during install |
We give exact numbers after walking the actual property, since two homes of the same square footage can have very different installation scopes depending on trim, access, and substrate condition.
What to Ask an Installer Before You Sign a Contract
- Do they follow James Hardie's published fastening and clearance specifications, and can they explain them without hesitating?
- Will they remove old siding down to the sheathing on a re-side, or install over the existing wall?
- How do they handle substrate damage discovered mid-project, and is that covered in the written scope?
- Do they seal cut edges on ColorPlus boards, and how do they detail flashing around windows and doors?
- Are they licensed and insured to work in Washington, and can they provide that documentation directly?
Why a Local Installation Crew Matters
A crew that installs siding across Whatcom County repeatedly, in this exact mix of salt air, wind-driven rain, and a long moss season, learns things that don't show up on a manufacturer's spec sheet. They know which wall orientations in Ferndale stay wet the longest, which trim details tend to fail first under sideways rain, and where it's worth spending extra time on flashing even though it slows the job down. That kind of judgment comes from repeated exposure to how this specific climate treats a wall over years, not from a generic national installation process applied the same way everywhere.
Get a Free, No-Pressure Estimate
If you're planning a new siding installation on a Ferndale home, whether it's new construction, a full re-side, or you just want a straight answer on whether an existing installation was done correctly, we're happy to take a look. Reach out using the form below to schedule a free estimate, no pressure and no upsell script.